
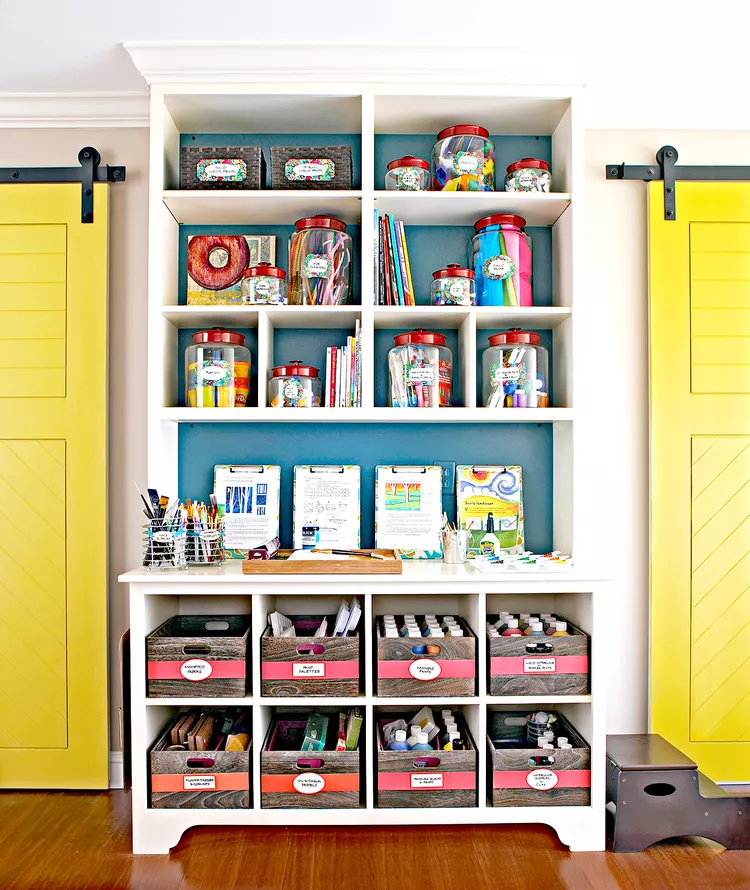
Overflowing craft supplies are difficult to manage because collections contain objects with completely different shapes, sizes, and uses. Paper, fabric, paint, tools, beads, yarn, adhesives, and unfinished projects rarely fit one storage method. Instead of forcing everything into matching boxes, organize materials according to how you actually choose and use them during a project.
Sort by Activity Before Buying Containers
Pulling everything out at once can create an overwhelming mess, so work through one category at a time. Start with a clear group such as paper, sewing supplies, painting tools, or embellishments.
Separate usable materials from dried products, broken tools, empty packaging, and scraps you realistically won’t use. Keeping material sorting ideas among your general planning notes may help you think through categories without buying organizers prematurely.
Only measure storage needs after the obvious excess has been removed.
Keep Current Projects Separate
Unfinished work often gets mixed back into the main supply collection. Give active projects their own tray, basket, tote, or shelf so you can resume them without searching through every material category.
Store Supplies According to How You Select Them
Some materials are chosen by color, while others are chosen by size, type, or function. Storage should reflect that difference.
Paint may work best grouped by medium and then color. Fabric might be easier to browse folded vertically, while frequently used scissors and rulers need open access. Creative workspace notes can provide visual prompts, but the most useful arrangement is the one that matches your personal project sequence.
Clear containers are helpful when seeing the contents affects what you choose.
Make Small Items Easy to Scan
Tiny craft supplies can consume surprising amounts of time because they disappear inside large drawers. Divide beads, fasteners, needles, stamps, or hardware into shallow compartments rather than deep containers.
| Supply Type | Useful Storage | Main Advantage |
|---|---|---|
| Paper and cardstock | Vertical files | Easy color browsing |
| Small embellishments | Divided box | Prevents mixing |
| Fabric | Upright folds | Visible without stacking |
| Active projects | Portable bin | Keeps pieces together |
Keep labels simple. Broad terms such as “ribbon,” “paint,” or “cutting tools” are usually more useful than an elaborate labeling system you won’t maintain.
For wider organization inspiration, general craft references can remain part of your planning material while your actual categories are based on what you own.
Put Frequently Used Tools Within Reach
Prime storage should go to supplies you reach for repeatedly. Scissors, measuring tools, glue, common pens, and basic cutting equipment shouldn’t live behind seasonal materials or rarely used specialty items.
Store occasional supplies higher, lower, or farther from the main workspace.
Create a Return Point
Every category needs an obvious place to go after a project. If putting an item away takes several steps, it’s more likely to remain on the work surface.
Open bins and shallow drawers often work better for everyday supplies than complicated stacked containers.
Why Perfect Craft Storage Often Fails
A craft room can look impressive immediately after organizing and still be inconvenient to use. One common mistake is choosing containers for appearance before considering the size and behavior of the materials.
Another problem is over-categorizing. If every shade, shape, or tool gets its own tiny compartment, cleanup becomes tedious. Accessible storage needs enough structure to prevent chaos but enough flexibility to handle leftovers, new purchases, and changing hobbies.
Frequently Asked Questions
Should craft supplies be organized by color or type?
Use whichever characteristic you rely on when choosing the material. Paper and yarn may benefit from color grouping, while tools and adhesives are usually easier to find when sorted by function or material type.
How do I organize craft supplies without a craft room?
Use portable bins, drawer units, rolling carts, or containers that fit inside an existing closet or cabinet. Keep active projects separate so the entire collection doesn’t need to be unpacked each time.
What should I do with small leftover craft materials?
Keep leftovers only when they are large or useful enough for realistic future projects. Give retained scraps a limited container so the category cannot expand indefinitely without being reviewed.
Organize for the Next Project
The best craft system helps you begin creating faster and clean up without hesitation. Sort materials around real activities, keep active projects separate, make small pieces visible, and reserve your easiest storage for tools you use often. When each supply has an obvious return point, your collection stays accessible without demanding constant reorganization.
Related Posts

Weak Online Privacy – Protect Data With Better Settings

Consumer Contract Problems – Read Fine Print Before Signing