
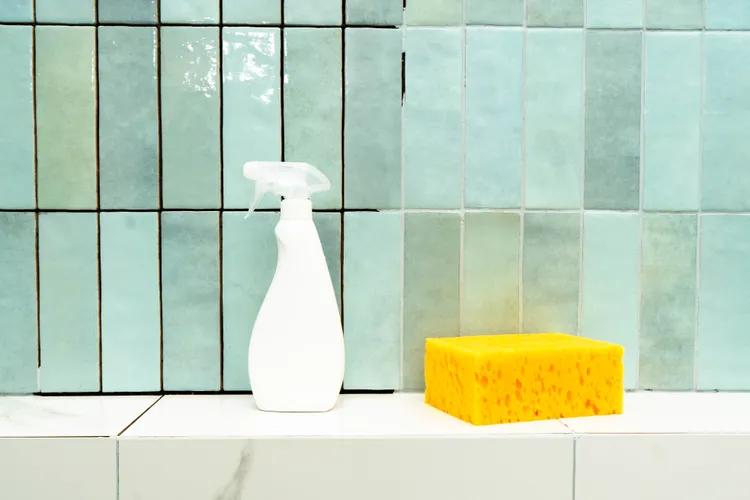
Stained bathroom grout often needs patient cleaning more than aggressive force. Soap residue, minerals, moisture, and surface grime can gradually darken grout lines, especially around showers and floors. Starting with a mild cleaner, allowing enough contact time, and using a grout brush can improve many stains without wearing away the grout through repeated hard scrubbing.
Identify What You’re Trying to Remove
Different discoloration responds differently to cleaning. Gray buildup near a shower may come from soap and body-care products, while pale crusty deposits can be associated with mineral residue from water.
Ideas encountered through general home-care reading can vary widely, so test any unfamiliar method on a small hidden area first. Older colored grout, natural stone, and damaged joints may react differently from newer ceramic-tile installations.
| Appearance | Possible Source | First Approach |
|---|---|---|
| Dull gray film | Soap and grime | Mild alkaline cleaner |
| Chalky residue | Mineral deposits | Tile-safe product |
| Dark spotting | Moisture-related growth | Appropriate labeled cleaner |
| Uneven permanent color | Aging or deep staining | Recolor or repair |
The appearance provides clues, not certainty. If discoloration remains after reasonable cleaning, the issue may be deeper than surface dirt.
Start With the Least Aggressive Method
Ventilate the bathroom and wear suitable gloves before using cleaning products. Never mix bleach with ammonia, acids, vinegar, or other cleaners because dangerous gases can result. Follow the product label rather than combining chemicals in hopes of creating a stronger solution.
For ordinary dirt, apply a grout-safe cleaner and give it time to loosen buildup before brushing. A small nylon grout brush usually concentrates cleaning action better than attacking the area with excessive pressure.
While browsing household idea content, remember that a method suitable for ceramic tile may not be suitable for marble, limestone, or another acid-sensitive surface.
Let Contact Time Do More Work
Scrubbing immediately after applying cleaner often wastes effort. Many products work better when they remain on the surface for the label’s recommended period.
Keep the area appropriately wet during that contact time if the directions require it. Then brush, rinse thoroughly, and inspect the grout after it dries.
Work in Small Sections
Cleaning an entire shower wall at once can cause cleaner to dry before you reach each area. Divide the surface into manageable sections and complete the apply, wait, brush, and rinse cycle before moving forward.
Good lighting helps. Some stains look dramatically different when grout is wet, so judging the result immediately after rinsing can be misleading.
General everyday household content may introduce plenty of cleaning shortcuts, but repeated testing on a small area is safer than applying an unfamiliar treatment across the whole bathroom.
Where Grout Cleaning Often Goes Wrong
More pressure isn’t always better. Aggressive wire brushes, abrasive tools, or repeated hard scrubbing can damage grout surfaces and leave them rougher, making future soil easier to notice.
Another common mistake is expecting every dark line to return to its original color. Old grout can become permanently discolored, and poorly maintained joints may be cracked or eroded rather than merely dirty.
Cleaning also won’t correct failed caulk, loose grout, or a persistent moisture source. If water continues entering damaged joints, cosmetic cleaning treats the appearance while leaving the underlying problem untouched.
Keep Clean Grout From Darkening Again
After cleaning, dry wet bathroom surfaces and improve ventilation so moisture doesn’t remain trapped for long periods. Regular light cleaning is easier on grout than waiting until heavy buildup demands repeated treatment.
If the grout is sound but permanently uneven, a grout colorant may offer a more consistent finish. If joints are crumbling, missing, or separating, repair may make more sense than another cleaning session.
Frequently Asked Questions
Can baking soda clean bathroom grout?
Baking soda can help with some light surface soil, but its abrasive action isn’t ideal for every tile or grout installation. Test a small area and avoid assuming a homemade mixture is automatically safer than a properly labeled cleaner.
Why does grout still look dark after cleaning?
The discoloration may extend below the surface, or the grout may have aged unevenly. Allow the area to dry completely before judging it. Persistent discoloration may require recoloring, repair, or replacement rather than stronger scrubbing.
Should bathroom grout be sealed after cleaning?
Some cement-based grout installations can benefit from an appropriate sealer, while other grout products may not require one. Check the grout manufacturer’s guidance and make sure the surface is clean and fully dry before applying any compatible treatment.
Stop Scrubbing When Cleaning Stops Helping
Bright grout comes from matching the method to the problem. Begin mildly, allow the cleaner time to work, use appropriate tools, and rinse thoroughly. If repeated cleaning produces little improvement, inspect the grout itself. Repairing, recoloring, or replacing damaged material can give a better result than continuing to attack an aging surface.
Related Posts

Best Living Room Styles for Melbourne Apartments

4 Signs You Need to Contact a Locksmith